

Some of you (especially those of you who know that my frugality borders on stingy) may have read that title, and said,"Wait a minute. She has a kindle?"
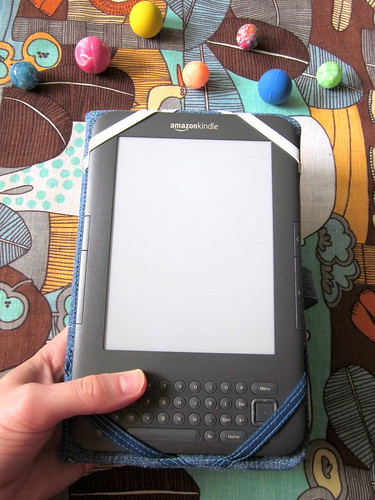
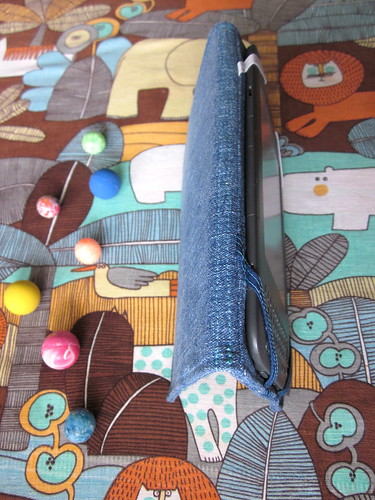
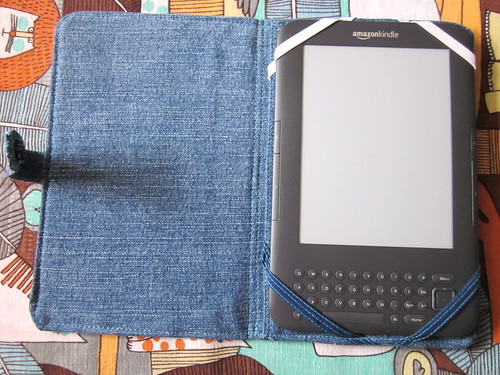
Yes. It's true. But for the story on that, you're going to have to wait until the end of this post...mainly because I want you to scroll past the pictures and see the transformation of a few pieces of discarded blue jeans and cutting board into a kindle cover (I apologize for the florescent lighting...but most of my inspiration happens after sundown. Ignore the frequently changing colors..I did try to adjust them believe it or not). I also saved it until last because the story involves some videos, and those will be at the end.
As for the cover, I really wanted to make one because most of the ones out there are either really expensive or completely synthetic
I thought it would be a good project to utilize my neglected denim collection, so I came up with a sketch. And even though I changed a few things, I'm happy with how closely I ended up sticking to it. I should sketch my projects more often.

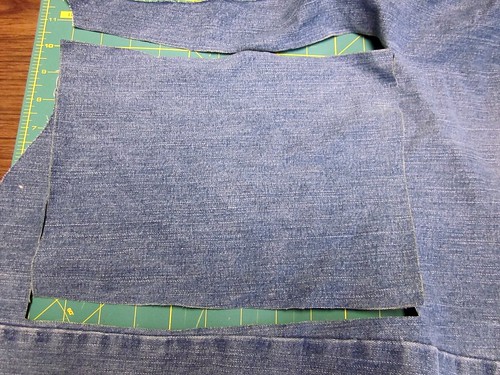
So I chose some denim I really liked, since I'll be seeing it a lot (sturdy, not stretch).

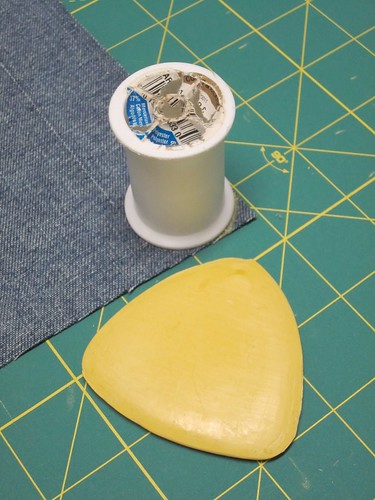
And a mangled cutting board...we're switching to all bamboo anyway. (More on that later in the week.)

And I got started. Now you can too.
If you are making a kindle cover of your own you will need the following:
2 Denim pieces cut by 8.75 by 11.30 inches
1 Denim piece cut 8.75in by 5.90in
1 Denim piece cut 14in by 1.25in
1 Denim piece cut 4in by 1.25in
2 Plastic or un-bendable cardboard pieces cut 7.5in by 5in (they may need to be slightly trimmed later)
2 pieces of 1/4in wide elastic, about 4in long
2 pieces of double fold bias tape or very strong 1/4in ribbon
1 snap (1/2in) or velcro (not magnetic snaps so we don't mess with the kindle)
Seam allowances will be at 1/4in unless otherwise noted.
**I designed this cover and may eventually sell some covers of this pattern in various fabrics. This tutorial for personal use only. If you would like to sell covers from this pattern, please contact me and I'm sure we can work something out.**
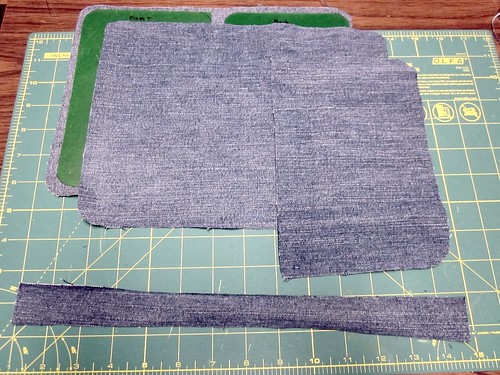
1. Measure very carefully and cut denim and plastic.
Don't use your sewing scissors for the plastic or cardboard, but do use chalk.

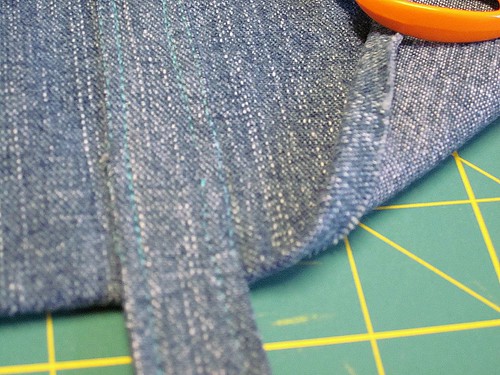
Using a small circle and your chalk, round the corners of the 2 large denim pieces
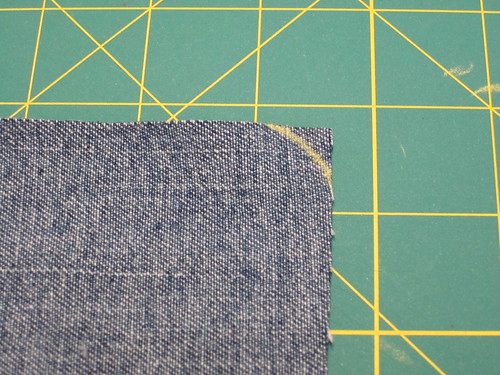
then, on the one 8.75in by 5.90in denim piece and each plastic piece, round just two corners each...
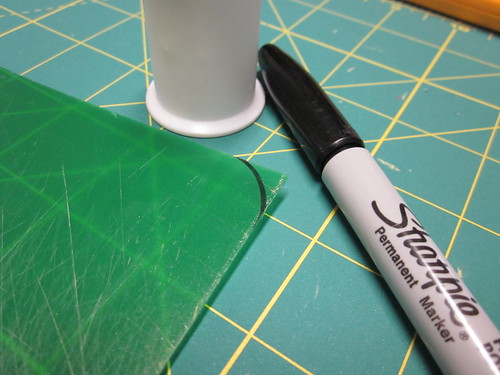
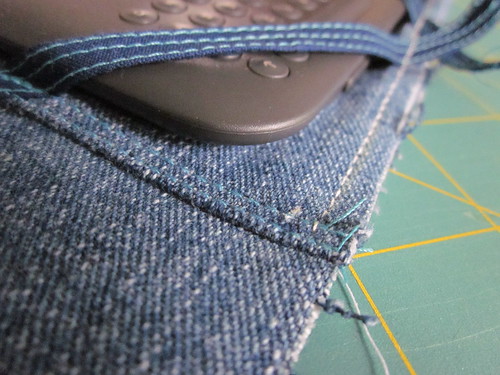
...as you can see below. This is so that all outside corners are rounded, but the ones toward the "binding" are not rounded, but will keep a crisp edge. (Though you may want to dull the points of your un-rounded plastic corners. And yes, I accidentally rounded all corners on the plastic piece shown on the right below.)
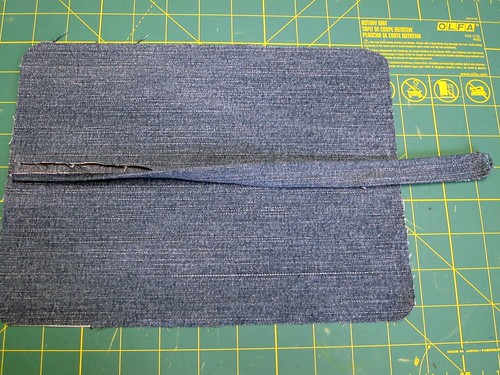
2. Now get out your gauge and iron, set to cotton with steam, and iron all you can at once. First, roll each side of the long strap under 1/4in, and the 4in by 1.25in piece too (left picture). Choose an end that will be your snap end, and round that short end of each piece as well. (You can see the example two pictures down.)
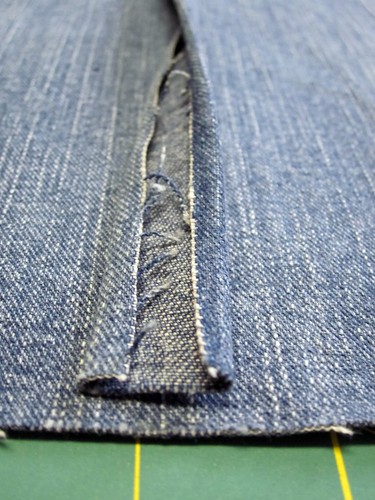
Then roll under one short side of each of the two large denim pieces, and the non-rounded side of the smaller denim piece, all 1/4in. Like so (right picture).
The picture shows the strap already sewn to the back, because I forgot to roll the edge, but that involved a lot of seam ripping, so iron first!
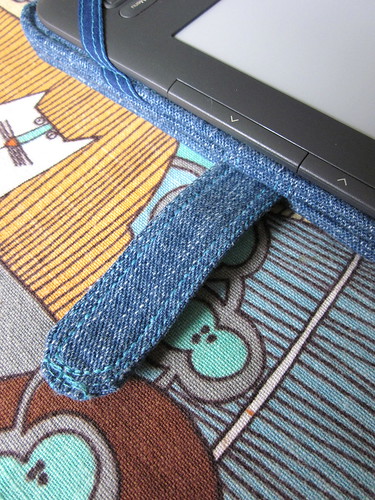
3. Next, top stitch the 4in and 14in narrow strips together, forming a rounded tab on one end.
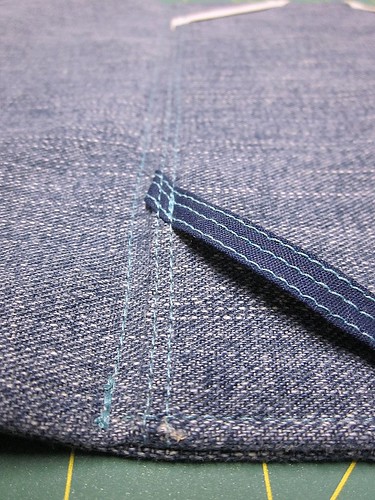
Then, measure to the center of your back piece (the one with the wear marks you like better), lay the strap carefully across and pin in place with the raw end of the strap matching the raw edge of the large piece.
Be sure that you keep your tabbed end on the same side as the 1/4in rolled edge.
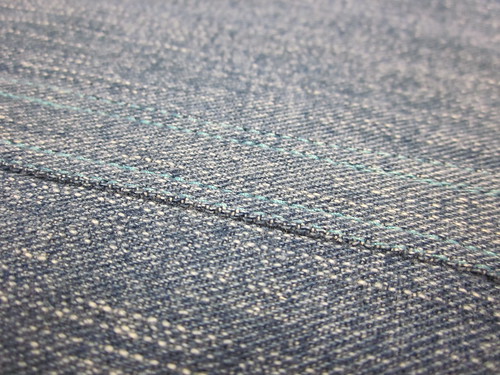
Then stitch decoratively to attach. I chose to stitch 1/8in from each edge if the strap, and directly on each edge to make it lay as flat as possible. Do not back stitch, but leave the threads long, pull them in with a hand sewing needle, and knot them off.
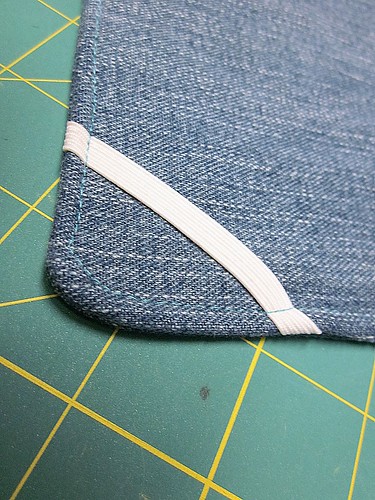
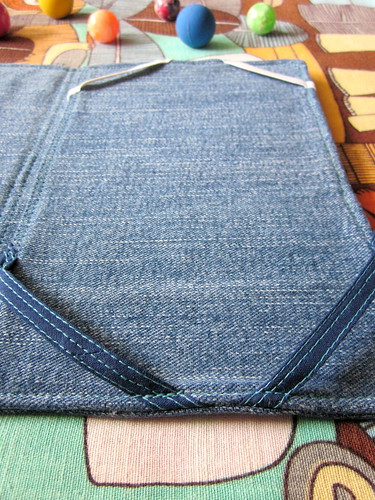
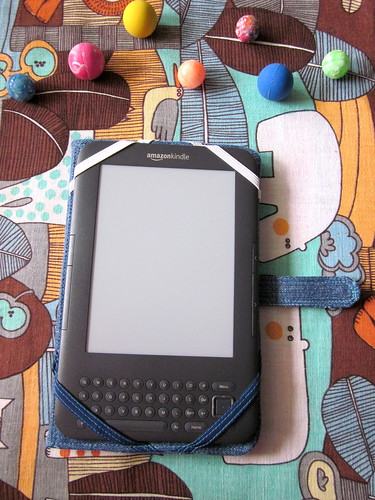
4. Next, take the smaller piece of denim and baste the two non-stretch strips on the bottom corners, and the two elastic strips on the top corners. I placed mine about two inches from each corner, but adjust as necessary. (I did some decorative stitching on my bias tape to keep it from unfolding.) Make sure the elastics are stretching a tiny bit so that their hold on the kindle will be secure.

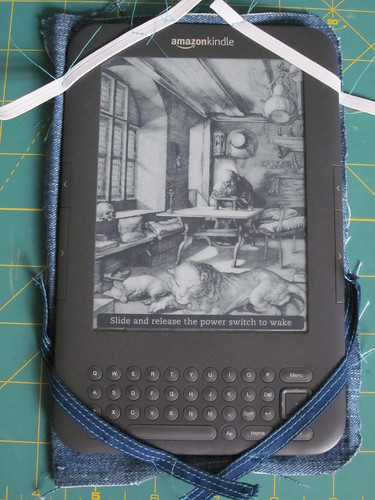
Lay your pieces on top of one another to make sure everything is still matching up. If they aren't trim or adjust seam allowances in the next few steps.
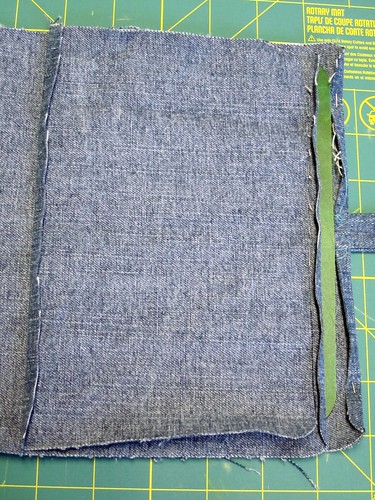
5. Take the small denim piece, which will hold your the kindle, and pin carefully to match all edges with the large inside denim piece (the non rolled edge of the large piece). Tuck the ends of the one elastic and one bias tape under the rolled edge of the smaller piece and top stitch in place at 1/4in and 1/8in as shown below. Also, machine baste (white thread) the three outside edges, making sure to catch the straps.
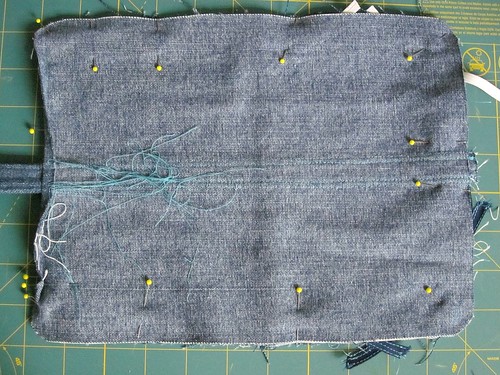
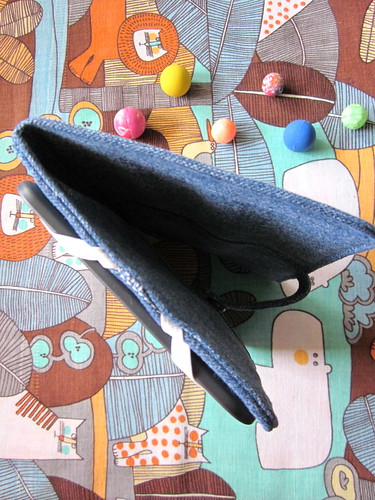
6. Lay the back piece over the inside piece you just created, making sure that the tabbed, 1/4 rolled edges are matched and are also opposite the side which will hold the kindle. Sew all the way around BUT leave a 5 inch opening on the tabbed/rolled edge. (Make sure you do sew the corners on that side since they are hard to roll properly.)
7. Flip and iron super duper well, poking out corners, etc. Then, top stitch all but the open edge.
8. Into that open edge slide one of the plastic pieces, taking it out to trim it to fit if necessary.

9. Top stitch down the center (at 1/8in and 1/4in from the edge), enclosing the plastic piece securely in place. Whether you back stitch or not, leave the threads long, pull to one side, knot, and hide by pulling between the layers with your needle.
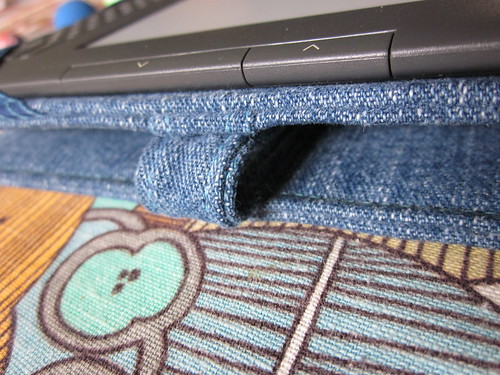
10. Slide the second plastic piece in place, then top stitch the rolled edge carefully. You're almost done!
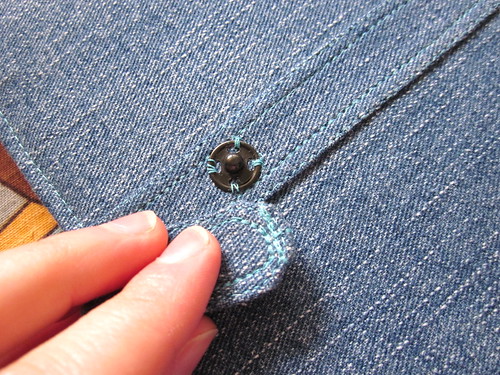
11. All that's left is to sew on your snap (or velcro if you so choose). First affix half to the tab, then with the kindle in place (or something of equal thickness), wrap the tab around tightly and choose the spot for your snap. Hand stitch.

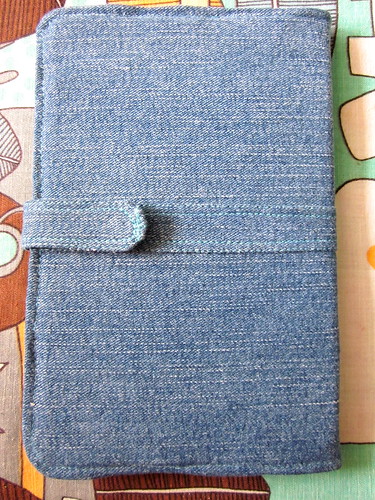
And you're done!
Now those old jeans and cutting board are something magical and new.
*Edit: If you follow this tutorial I would love to see what you've created! Go ahead and share your project in the Harmless Color flickr pool. My design is for personal use only, but if you are interested in making some for selling please contact me and we can work something out.


Because I love to read, yes. Because they wanted to enable me to read thousands of works of classic literature for free and without inter-library loan, yes. Because they know we probably wouldn't buy them even though they are within the realms of affordable, yes. Because it makes reading scientific papers seven hundred times easier and less eye-straining than doing it on your computer, yes. But the real reason?
Because they have been seeing the stop motion kindle commercials on television and been reminded of me every time. Seriously. Nathanael and I don't have a television, so my parents have been telling me about these advertisements for months. For possibly more than six months they have been occasionally mentioning the kindle commercials to me over the phone and saying how the music, romance, clothes, ice fishing, ballet, bike, science, adventure, everything about these advertisements reminds them of me.
So watch, enjoy, and think of me as I read Gulliver's Travels.
Kindle Commercial 1
Kindle Commercial 2
Kindle Holiday Commercial
I am amazed at how precise you were. Incredible.
ReplyDeleteOne additional recommendation: My wife made one for me, and I asked her to make a "pocket" in the front that would house a piece of press board (cardboard) that would protect the screen. The board is wide enough to cover the screen but doesn't cover the scroll button, which keeps it from putting undue pressure on the switch. Great post, though.
ReplyDeleteThanks Mr. D! I'm glad you liked it!
ReplyDeleteThe newest version of the kindle is made without a switch, so I don't think pressure is too much of a concern. However, in terms of the keys, I think having a strap only in the middle keeps the pressure pretty light. But if I change the design (or give a cover to someone using an older generation kindle) I will keep that in mind. Thanks!
This is really cute! I haven't jumped on the kindle boat yet, but when I do (it's inevitable), I'm gonna try this!
ReplyDeleteGreat post, hope you enjoy the kindle! I'm up in the air as to whether i would like it or not. Something about turning pages in a book and closing it when I'm done is cathartic. :)
ReplyDeleteWonderful tutorial, thanks.
ReplyDeleteThis is so cute. Besides, you know how much you could pay for a cover it in the stores, and wouldn't look even half as nice? Cutting Board was a great thought too!
ReplyDeleteVery cute! I have a Sony Reader and though I would try to make my own cover for it. It was only a sleeve of sorts, but it worked until I found a better one. Yours is MUCH better than mine, too bad I didn't find this info earlier!
ReplyDeleteThanks for sharing this tutorial! I just got a Kindle (like, JUST NOW! perhaps I'm a bit over excited?) and want to make a cover following your instructions. My only question is how on earth did you cut your cutting board? Was it a very thing cutting board or have you got very very big scissors? From Candace
ReplyDelete...My email address is candacerosedavies[at]gmail[dot]com
ReplyDeleteThis is great. I take shortcut, I use potholder made some modifications, it is a kindle cover.
ReplyDelete